Candle making is an art that requires attention to detail and precision. One key aspect of candle making that often goes overlooked is the placement of the wick. While it may seem like a small detail, the position of the wick can greatly impact the performance and overall quality of a candle.
Understanding the Importance of Wick Placement
Before delving into advanced techniques for candle wicks placement, it is crucial to understand the role of the wick in candle making. The wick acts as the fuel delivery system, drawing the liquid wax up to the flame where it is vaporized and burned. Proper wick placement ensures that the flame burns evenly, promoting a clean and efficient burn.
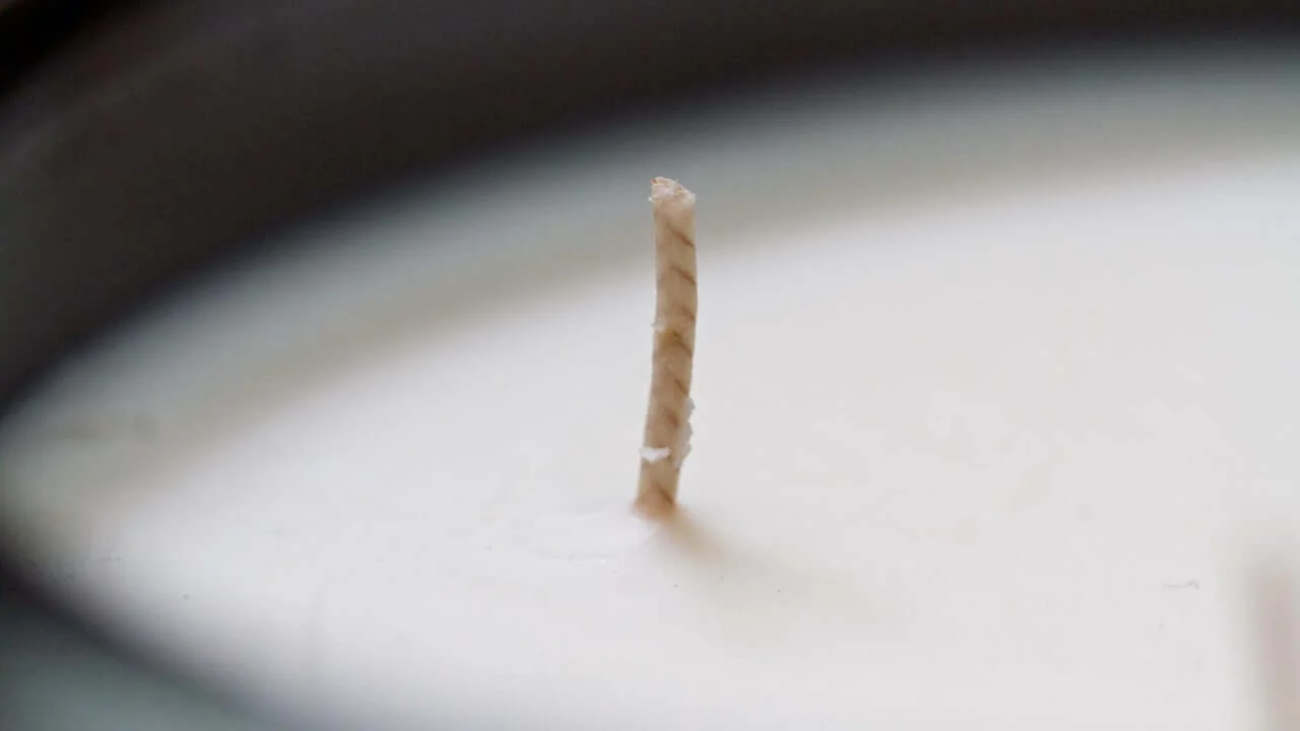
When it comes to wick placement, precision is key. The wick should be centered in the candle to allow for an even distribution of heat and wax. Placing the wick too close to the edge of the candle can cause tunneling, where wax accumulates around the wick without being burned, leading to a shorter burn time. On the other hand, a wick positioned too far from the edge may result in the wax not fully melting, creating a memory ring and reducing the overall scent throw of the candle. Click here to get about the benefits of choosing candle wick wood for natural scents.

The Role of the Wick in Candle Making
The wick is not just a simple thread; it is specifically designed to control the rate of fuel consumption in a candle. Different wicks have different characteristics, such as burn rate and heat resistance, that need to be taken into consideration during the placement process. A properly placed wick will provide an even and steady burn throughout the life of the candle.
Furthermore, the size of the wick also plays a crucial role in candle performance. A wick that is too small for the diameter of the candle will not be able to draw up enough wax, leading to a weak flame and tunneling. Conversely, a wick that is too large may create a flame that is too big and causes the candle to burn too quickly, resulting in wasted wax.
How Wick Placement Affects Candle Performance
The placement of the wick directly affects the performance of the candle. Inadequate wick placement can result in issues such as uneven burning, tunneling, and excessive soot. On the other hand, proper wick placement ensures an even burn, minimal soot production, and a longer overall burn time. It is essential to master the art of wick placement to achieve the desired candle performance.
Delving into Advanced Wick Placement Techniques
Now that we understand the importance of wick placement, let’s explore advanced techniques to master this skill.
Preparing for Optimal Wick Placement
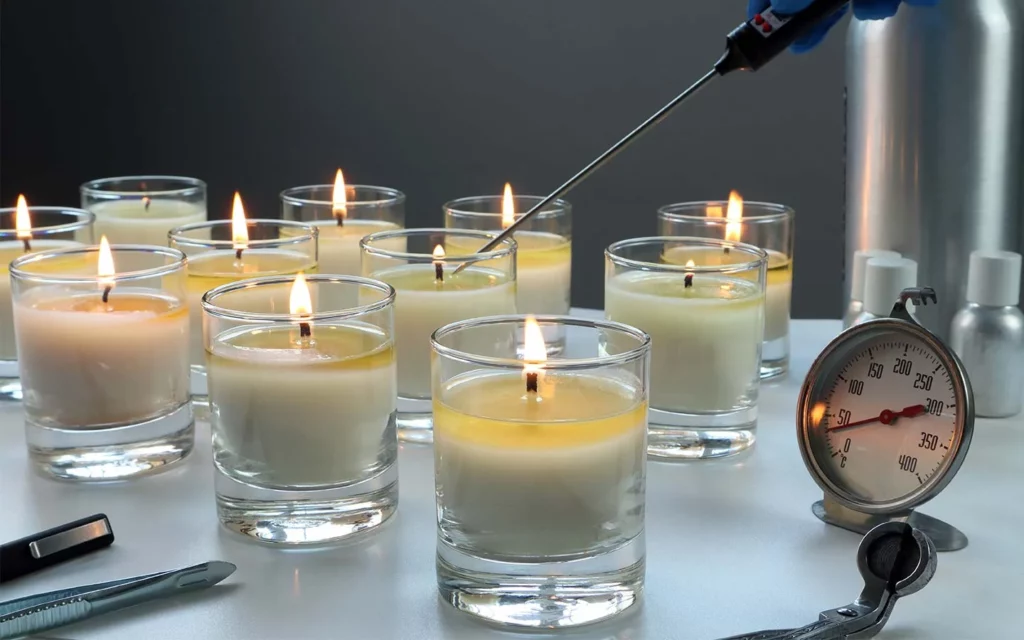
Before starting the candle making process, it is crucial to prepare for optimal wick placement. This includes choosing the appropriate wick for your candle, considering factors such as the diameter and composition of the wax. Additionally, ensuring a clean and level candle container will help provide a stable base for the wick.
Furthermore, it is recommended to pre-tab your wicks before placing them in the candle. This involves attaching a metal tab to the base of the wick, which not only helps anchor the wick in place but also aids in the even distribution of heat. Properly pre-tabbed wicks can prevent issues such as tunneling and uneven burning, resulting in a more efficient and aesthetically pleasing candle.
Techniques for Centering the Wick
Centering the wick is essential for a well-balanced burn. One technique is to use a wick centering device or a wick sticker to keep the wick in place during the pouring process. Another method involves tying the wick to a stick or pencil placed across the top of the container. Both techniques ensure that the wick remains in the center as the wax solidifies.
In addition to these methods, some experienced candle makers prefer the “wiggle test” to ensure proper wick placement. This involves gently wiggling the wick after the wax has started to set but is still pliable. If the wick moves easily, it indicates that it is centered and secure. This simple yet effective technique can be a valuable tool in achieving optimal wick positioning.
Adjusting Wick Placement for Different Candle Sizes
Each candle size requires a specific wick placement. For larger candles, the wick may need to be positioned slightly off-center to allow for ample fuel distribution. Smaller candles, on the other hand, often require a perfectly centered wick. Experimentation and observation will help determine the optimal wick placement for different candle sizes.
Moreover, when working with unusually shaped containers or pillars, adapting wick placement techniques becomes even more crucial. Techniques such as using multiple wicks strategically placed around the perimeter of the candle can help ensure an even burn and maximize the fragrance throw. Understanding the relationship between wick size, wax type, and container shape is key to achieving the perfect candle every time.
Troubleshooting Common Wick Placement Issues
Despite meticulous planning, issues with wick placement can sometimes arise. Let’s explore common problems and their solutions.
When it comes to crafting the perfect candle, every detail matters, including the placement of the wick. Proper wick placement is essential for achieving an even burn and maximizing the candle’s performance. However, even with the best intentions, wick placement issues can occur, leading to suboptimal burning characteristics.
Identifying Wick Placement Problems
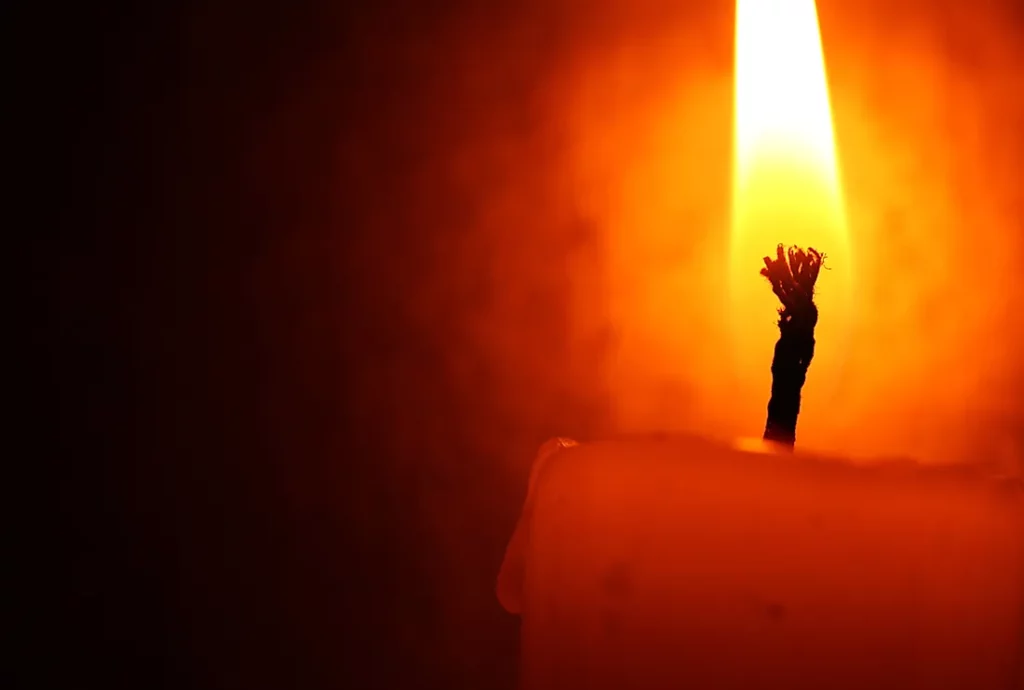
If a candle does not burn evenly or exhibits excessive soot production, there may be a problem with the wick placement. Uneven burning can indicate a wick that is too close to the container’s edge, while excessive soot production may be the result of a wick that is too long.
Furthermore, improper wick placement can not only affect the visual appeal of the candle but also impact its fragrance throw. A well-centered wick ensures that the fragrance oils are evenly distributed across the melt pool, enhancing the scent throw and overall aromatic experience.
Solutions for Off-Center Wicks
If a wick is off-center, it can lead to tunneling, where the wax only melts in a narrow tunnel down the center of the candle. To address this issue, carefully use a wick tool or tweezers to straighten the wick and reposition it in the center. Take caution not to disturb the solidified wax around the wick.
In addition to repositioning the wick, consider using wick holders or centering devices to maintain proper alignment during the cooling process. These tools can be especially helpful when working with larger container candles or complex candle designs that require precise wick positioning.
Addressing Inconsistent Wick Placement
Inconsistent wick placement can cause uneven burning and diminish the overall performance of the candle. To address this issue, it is crucial to carefully trim the wick to a uniform length before each burn. Trimming will ensure a consistent flame height and proper fuel consumption.
Moreover, incorporating a wick trimmer into your candle care routine can simplify the trimming process and help maintain optimal wick length. Keeping the wick trimmed to the recommended length, typically around 1/4 inch, will prevent mushrooming, reduce soot formation, and promote a clean, steady burn.
Tools and Materials for Precise Wick Placement
Having the right tools and materials is essential for precise wick placement. Let’s explore the essentials.
When it comes to achieving the perfect candle, attention to detail is key. Investing in quality tools can make all the difference in the final product. Beyond the basics, consider adding a wick holder to your toolkit. This simple yet effective tool can help keep your wick in place during the pouring process, ensuring a straight and centered placement every time.
Essential Tools for Wick Placement
Investing in quality wick trimmers, wick centering tools, and a wick dipper will greatly aid in achieving precise wick placement. These tools not only make the process easier but also contribute to the overall aesthetic appeal of your candles.
Additionally, having a heat gun on hand can be beneficial for troubleshooting any uneven burns. A quick pass of the heat gun over the candle’s surface can help melt and redistribute the wax, correcting any issues with the wick’s positioning and ensuring a clean, even burn.
Choosing the Right Wick for Your Candle
The type and size of the wick play a crucial role in achieving optimal performance. Factors such as candle diameter, wax composition, and desired burn time should be considered when selecting a wick. Consult wick manufacturer guidelines to ensure you are using the appropriate wick for your specific candle.
Experimenting with different wick types can also lead to unique and customized results. From cotton wicks for a clean burn to wooden wicks for a cozy crackling ambiance, the possibilities are endless. Don’t be afraid to test out various options to find the perfect match for your candle-making endeavors.
Perfecting Your Wick Placement Skills
As with any craft, practice makes perfect. Let’s explore some techniques to refine your wick placement skills.
Before diving into the intricacies of wick placement, it’s essential to understand the role it plays in candle making. The position of the wick determines how the candle burns, affecting factors such as burn time, scent throw, and even wax consumption. By mastering the art of wick placement, you can create candles that not only look beautiful but also perform optimally.
Practice Techniques for Improved Wick Placement
Dedicate time to practice and experiment with different wick placement techniques. This will help you become more familiar with the nuances of different wicks and candle sizes. Take notes and record your observations to refine your approach over time.
Additionally, consider exploring the impact of environmental factors on wick placement. Factors such as room temperature, humidity levels, and air circulation can influence how a candle burns. By adjusting your wick placement based on these variables, you can tailor your candles for optimal performance in various conditions.
Advanced Tips for Professional Wick Placement
For those looking to take their wick placement skills to the next level, here are a few advanced tips:
- Consider using a wick holder or mold to ensure precise placement during the pouring process.
- Experiment with different wick types and sizes to achieve specific burn characteristics, such as a longer burn time or larger flame.
- Consult experienced candle makers or join online forums to gain insights and learn from their expertise.
By implementing these advanced techniques and continuously striving to improve, you can master the craft of candle wick placement and create candles that burn beautifully and bring joy to those who enjoy them.